Google Analytics 4 Implementation Guide - Step 2 - Data Tracking

In Step 1, we covered the prerequisites for a GA4 Implementation. Here, I want to mention "how" to implement desired custom events, but before diving into it, we must talk about how to set up GA4 and enable the default events GA4 has to offer.
Set up GA4
If you already have a Google Analytics account, you can just go ahead and skip to the Event Types section.
You can read from here that if this is your first Google Analytics implementation, you will take the following steps to set up the account. First, visit the Google Analytics website and sign in with your email. Google welcomes you with the following page;
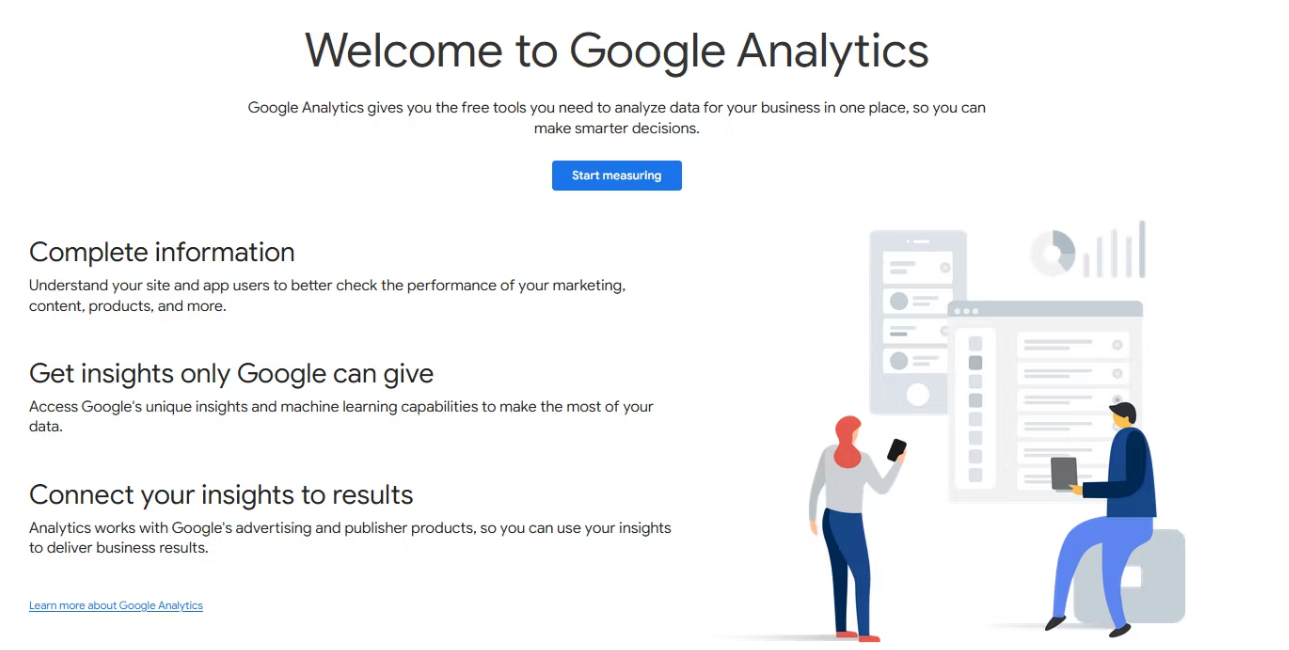
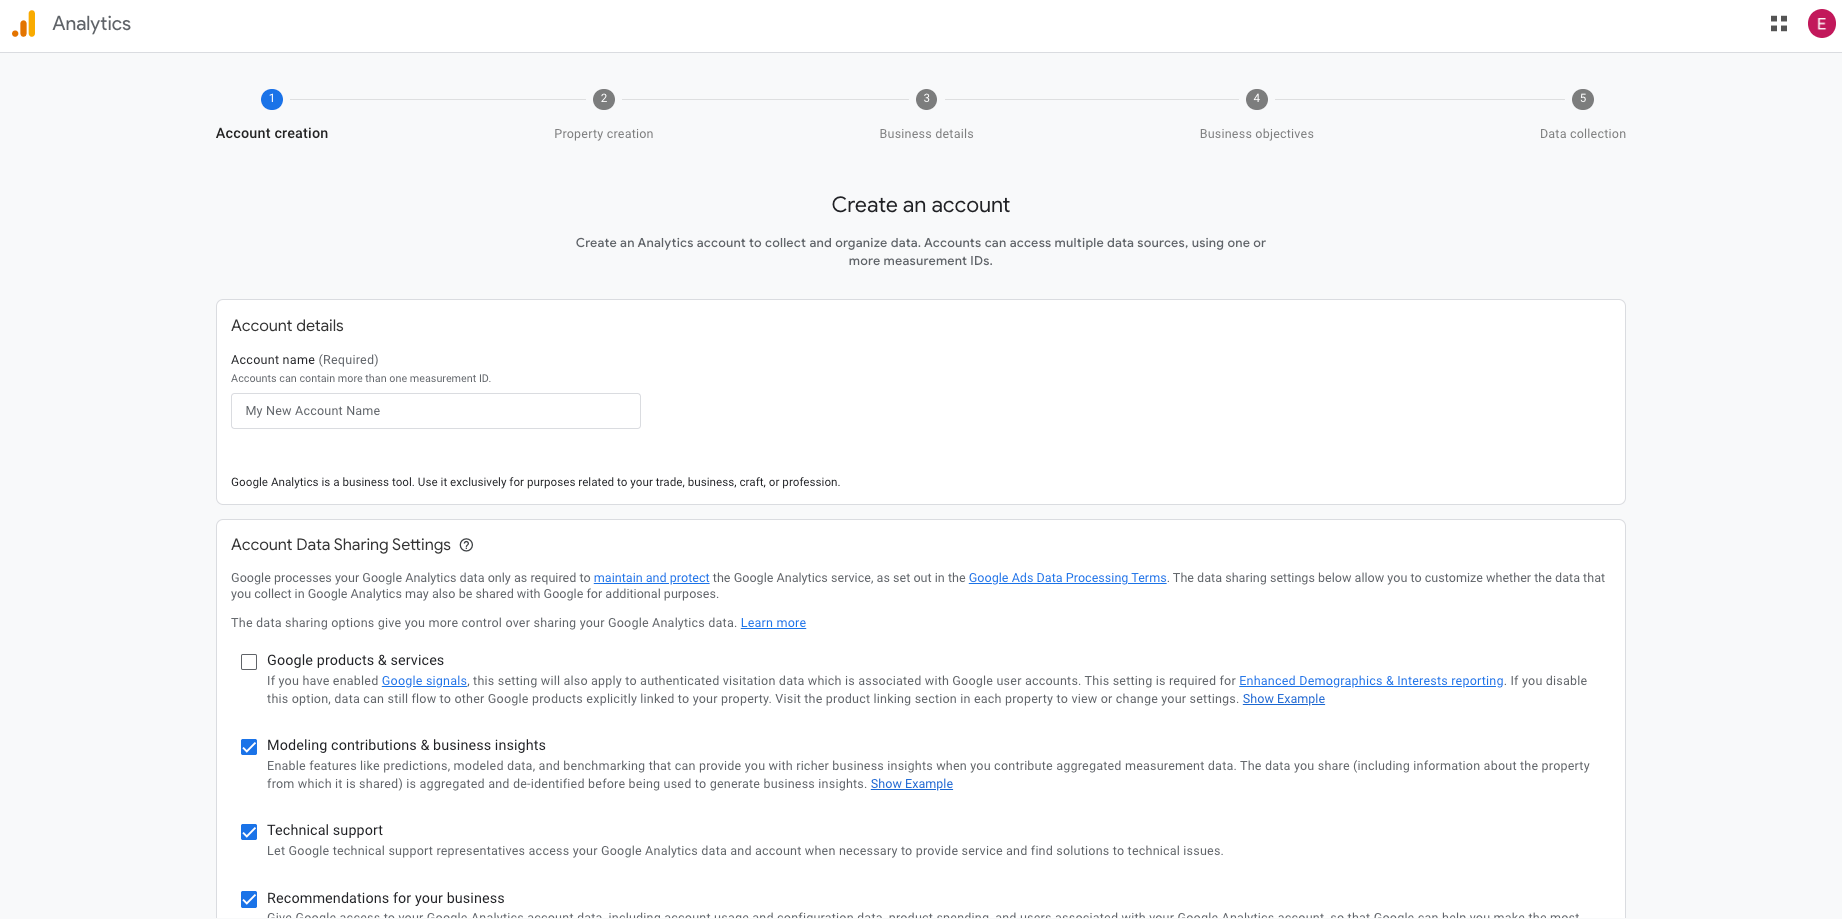
Click "Start measuring" to see the first of the following five steps. Give your account a name.
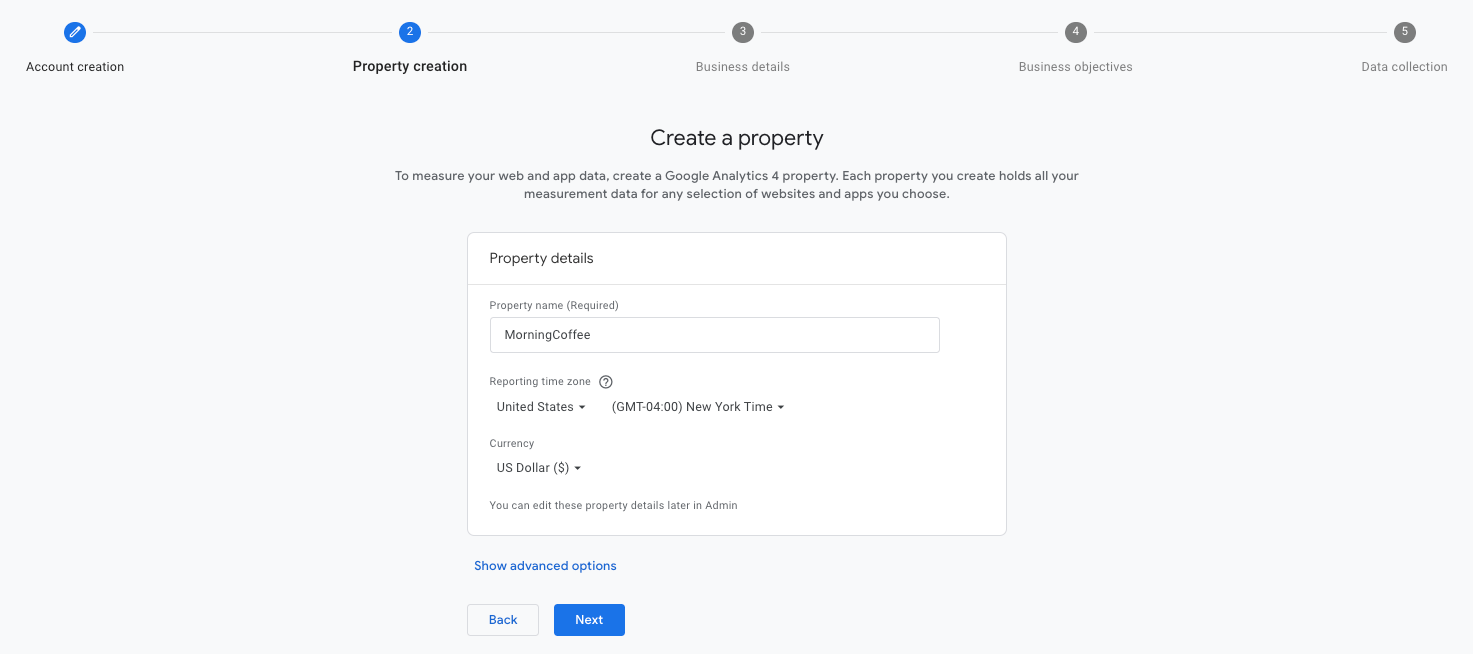
In the second step, give a name to your property. One Google Analytics account may have multiple properties. Here, do not forget to adjust the "Reporting time zone." I've seen many cases where two platforms (Shopify vs. GA4) have different reporting timezones, therefore, discrepancies with the reports.
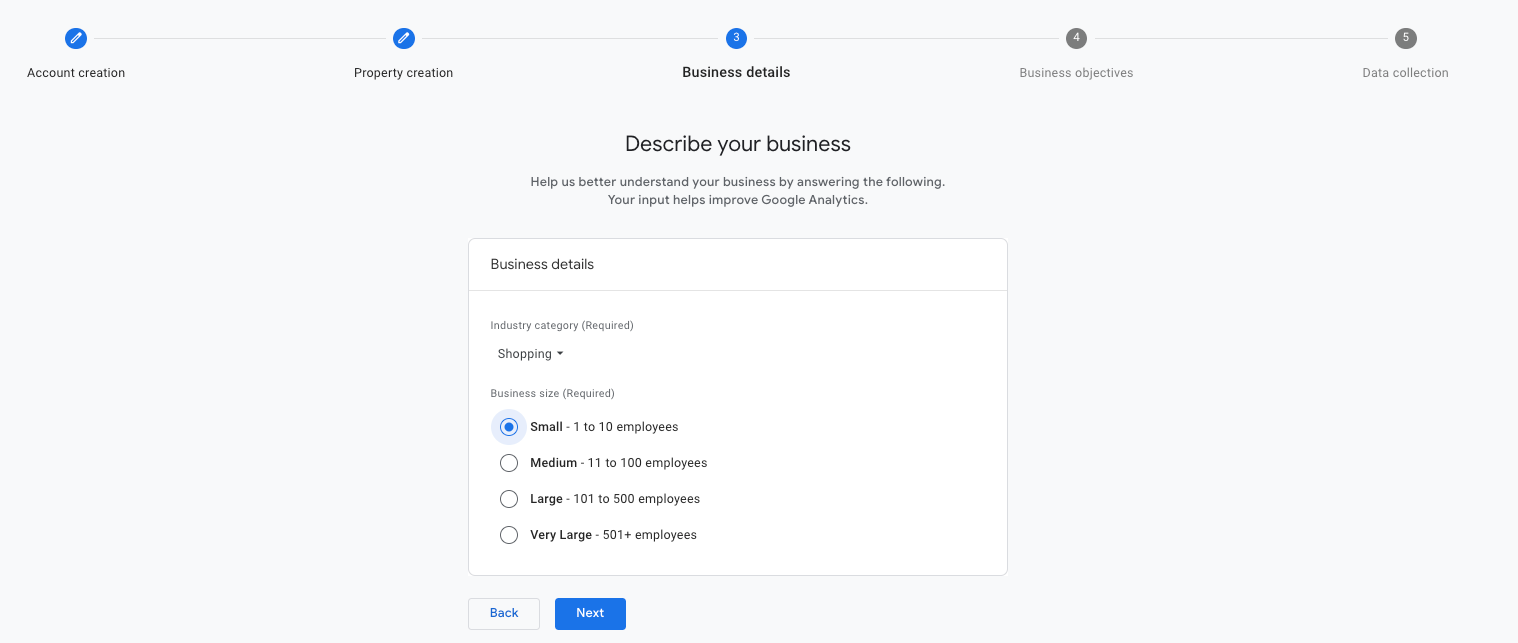
You can select the correct answers and move to the next step.
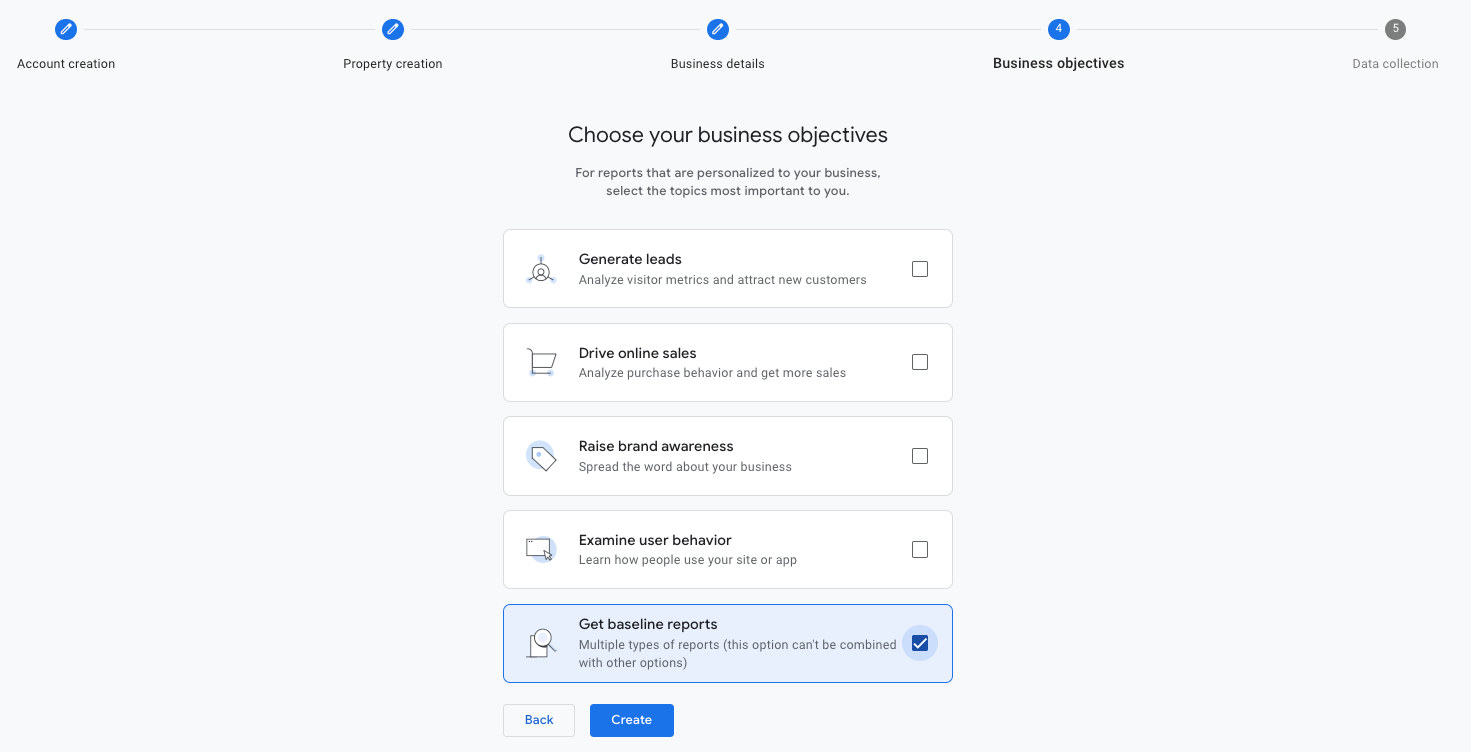
This step is about your GA4 interface. GA tries to show you the most helpful UI possible. Yet, this is one of many times you can play with GA4 UI. I'd suggest starting with the "Get baseline reports."
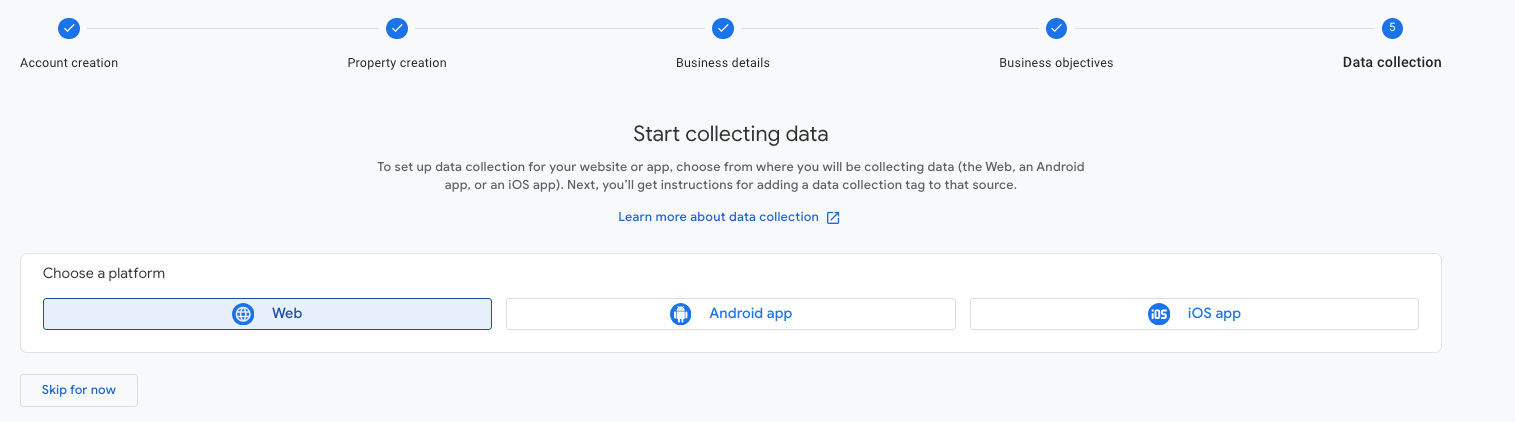
Agree to the terms and conditions pop-up and select the appropriate platform to collect data.
Once you create the stream, it'll ask you to select ways to add GA4 to your website. The options are through a "Website Builder," "Adding the Snippets Directly to Your Website," or "Using Google Tag Manager."
In this post, I'll discuss adding GA4 through Google Tag Manager -GTM. To add GA4 through GTM, we need the "Measurement ID." You can copy it using the icon right next to the
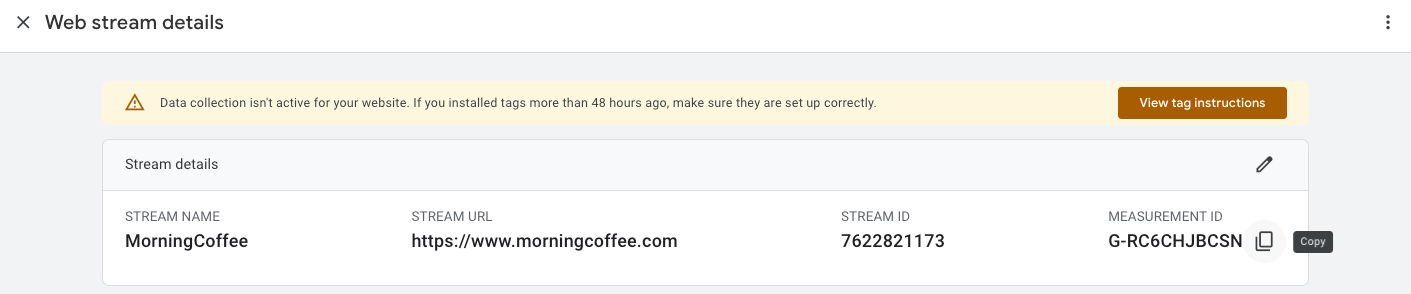
If you are new to GA4, you are probably also new to GTM. I can write another post explaining how to use it. For now, I share a great source you can learn from.
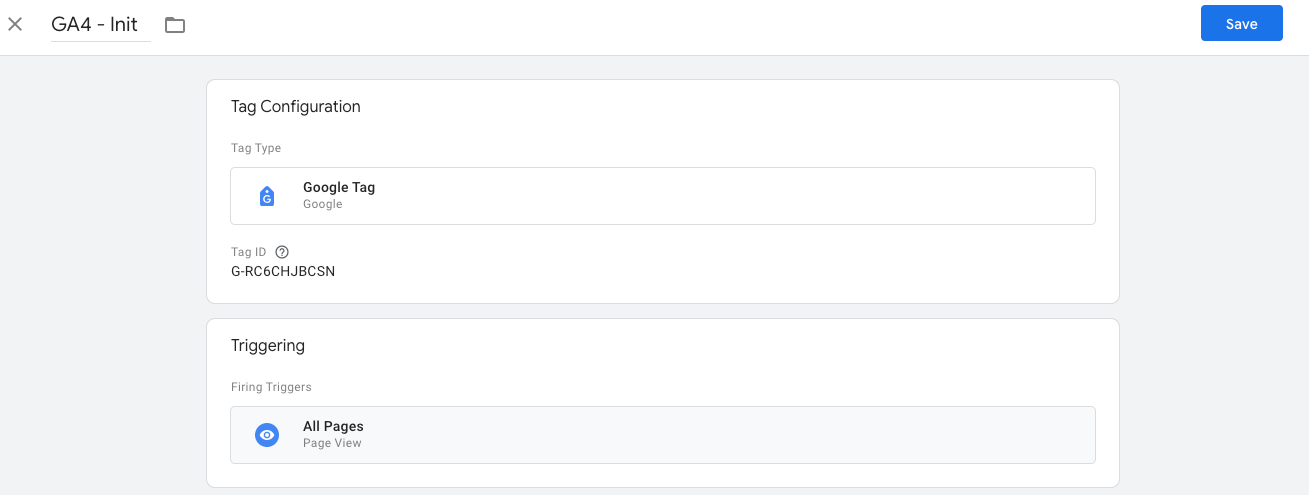
You need to add the copied "Measurement ID" to a "Google Tag," and you can use "All Pages" as the trigger to fire the GA4 tag on all your website pages. Then, make a test using GTM's "Preview" feature and make sure the tag fires as intended. Also, you can visit your GA4 Realtime & DebugView reports to validate that data flows to GA4.
Event Types in GA4
After the brief introduction to GA4 and GTM, we can continue with our events. GA4 has three event categories.
- Automatically Collected Events
- Enhanced Measurement Events
- Custom Events
Automatically Collected Events
As the name suggests, GA4 captures these events after the installation. Some of the events are first_visit, session_start, user_engagement. Here is Google's documentation about the Automatically Collected Events.
Enhanced Measurement
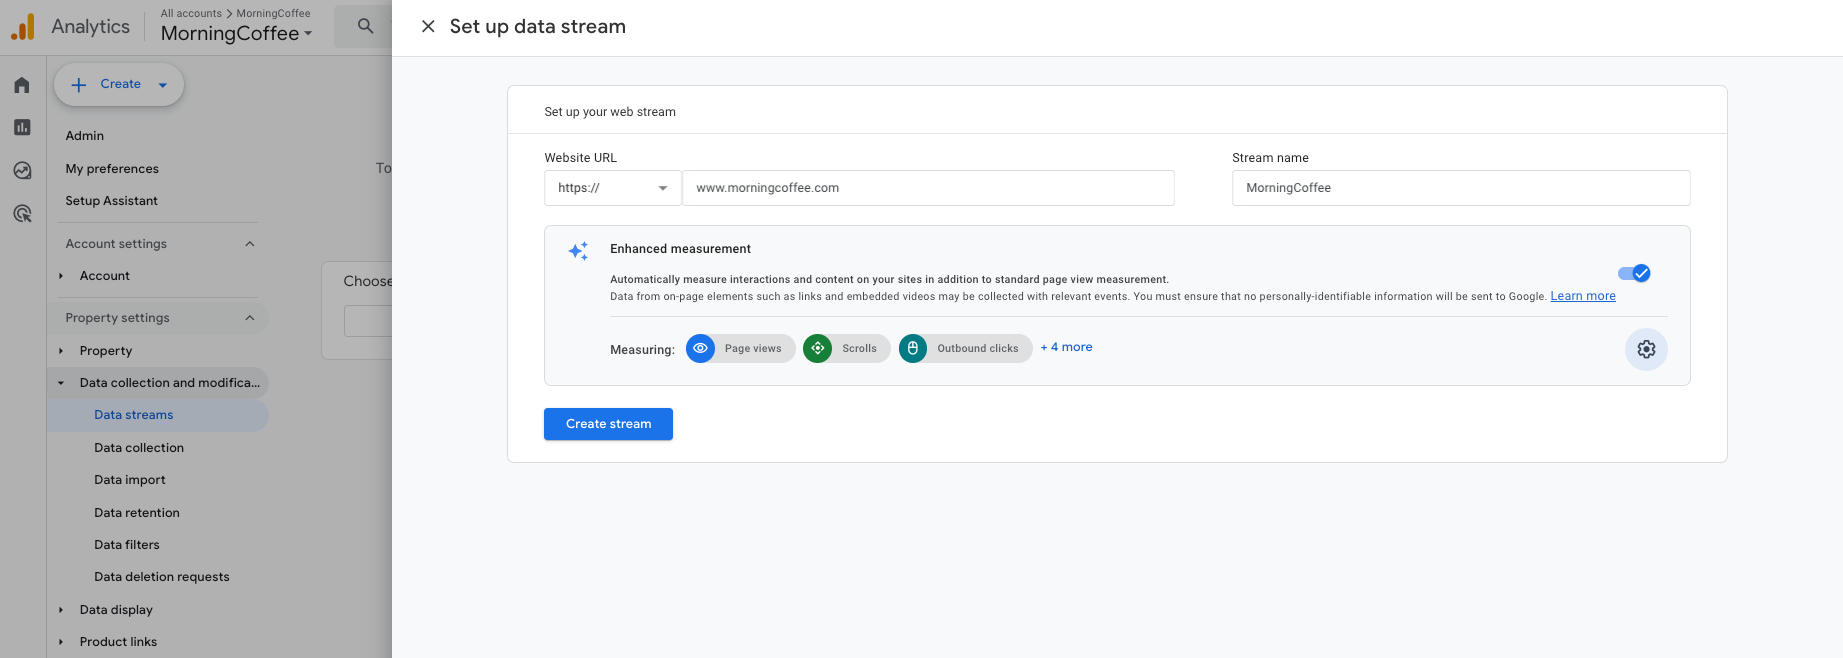
While creating the Data Stream, Google defaults to Enhanced Measurement to collect Enhanced Measurement events. The idea is to add more context to your GA4 reports without collaborating with the developers. page_views, scroll* to the 90% of the page, file_downloads, and site_search are examples of the Enhanced Measurement events. Here is Google's documentation about these events.
Custom Events
As we discussed in Step 1, before implementing GA4, we should list the information we'd like to collect from our website.
You have two options to create custom events.
- Click-related Google Tag Manager Trigger
- dataLayers
We suggest using dataLayers to track data more robustly if you have a development team. Click-related triggers depend on multiple factors such as click_text, click_class, click_url, etc., all of which are prone to change. If you take constant actions with your website, for example, moving a button, making it bigger, changing color, or adding a new link to a CTA, you can hurt the "trigger" condition; therefore, the tag might stop collecting data.
How does a dataLayer snippet look?
Once you define the event and related parameters with the event, you can share these snippets with your development team along with what these snippets 0 need to do and screenshots to help developers quickly identify where to inject these code blocks. The "Data Tracking Plan Document" I referred to in Step 1 is to address this internal communication.
Below is how Google suggests a "login" event with the "method" variable.
<script>
window.dataLayer = window.dataLayer || [];
dataLayer.push({
'event': 'login',
'method': 'Google',
});
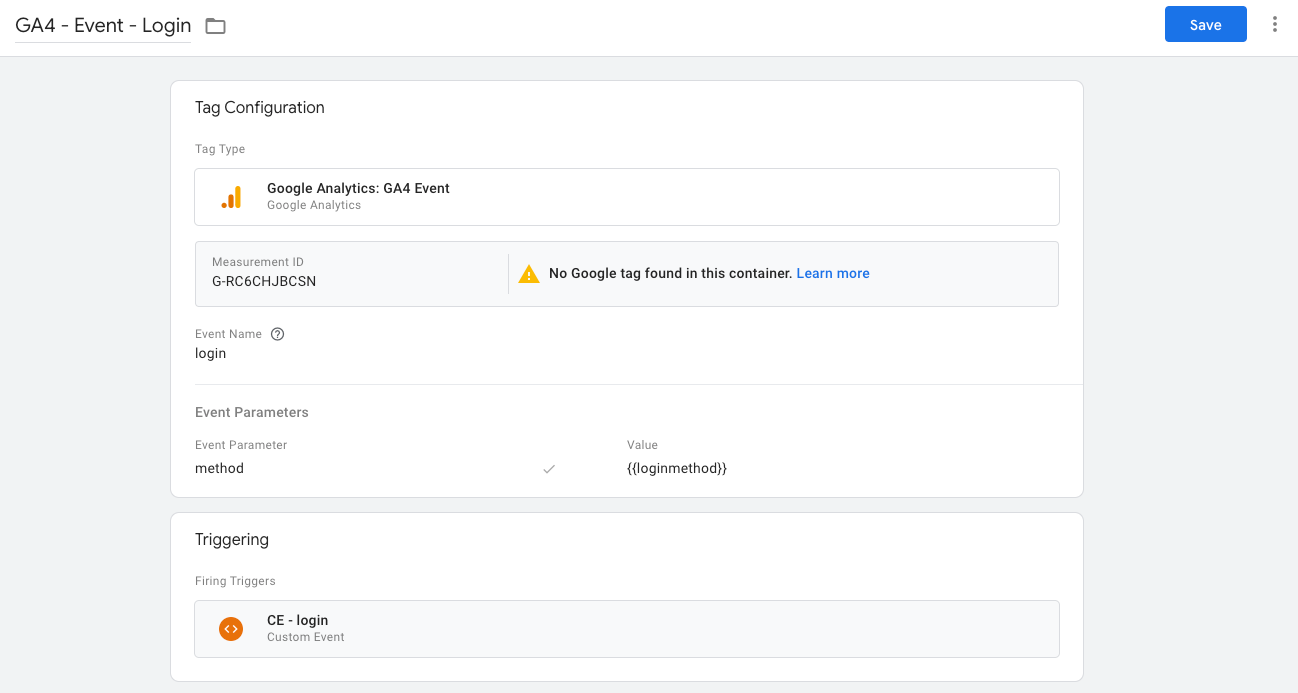
</script>If we were about to set this event for the example GA4 account we had above, the login event could have been created like below.
Click-related Google Tag Manager Triggers
Suppose you have limited development access and must configure the events using triggers. This is how you can do it. Suppose we wish to track "Subscription Intention" events for The New York Times website. Here on the header, you can see the CTA as "Subscribe for $1/Week"


Using the various variables, we can prepare an example trigger like the one below. Then, we can use the trigger to complete the "Subscription Intention" event.
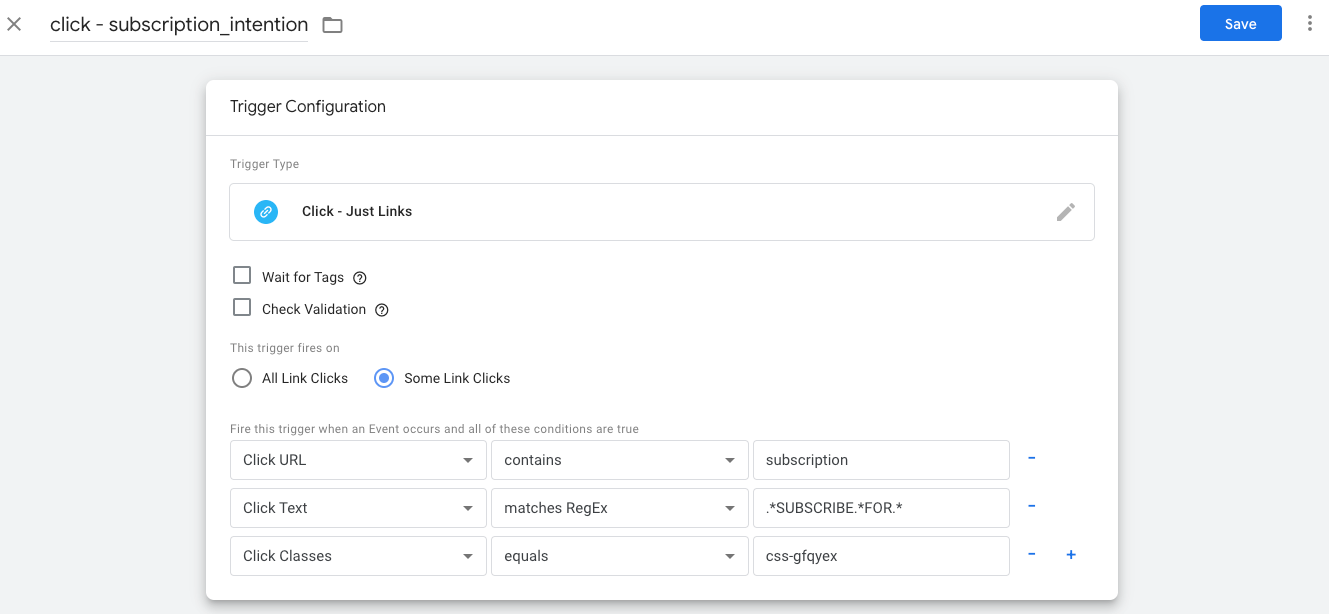
With these examples, we can see why, if we have a chance, we need to use dataLayers. Click URL, Text, and Click Classes variables can change frequently, making the trigger outdated and putting the tag into an idle state.
BONUS: Recommended Events
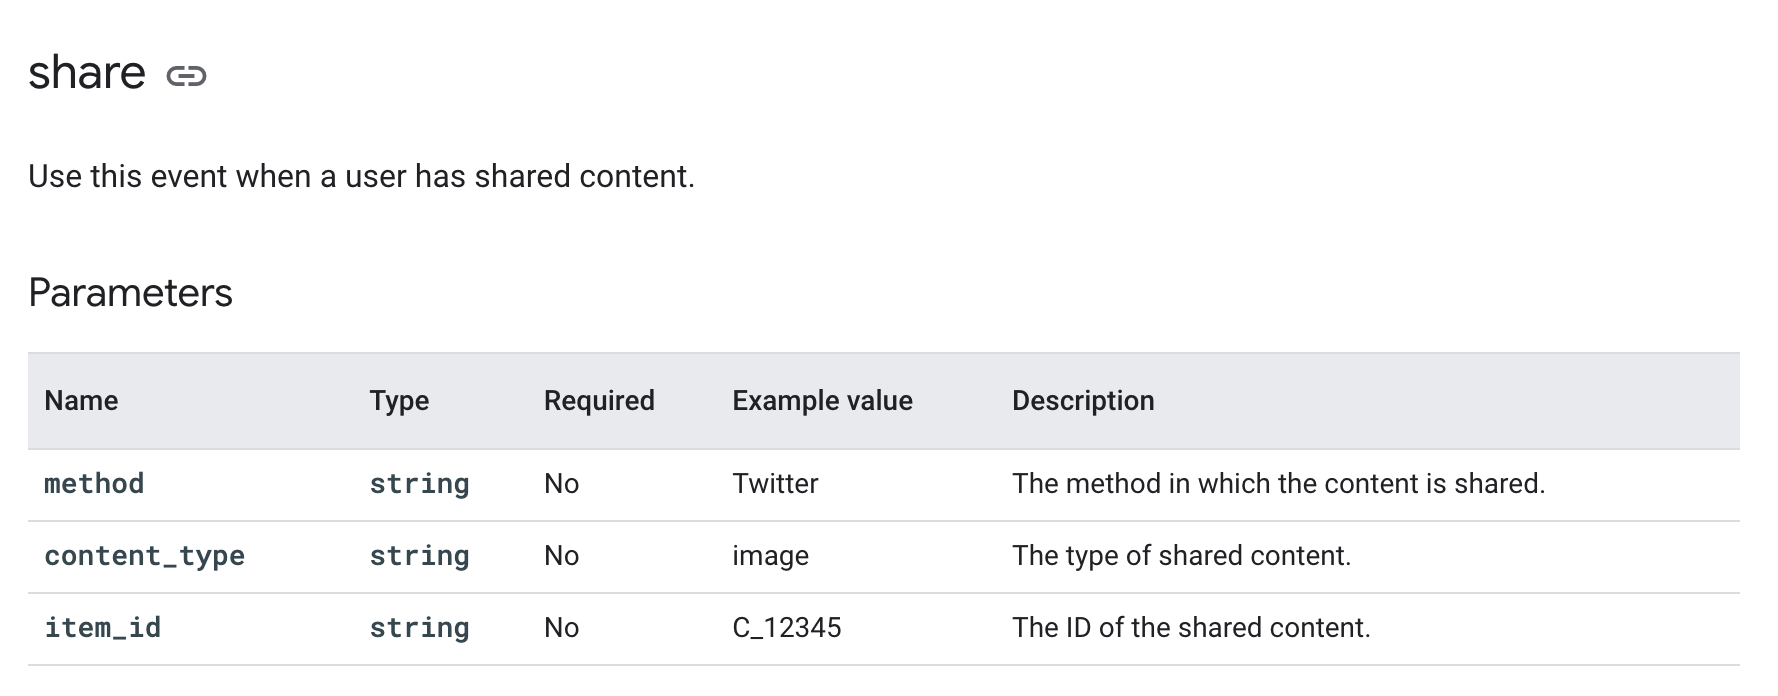
Google lists and classifies multiple events as "Recommended Events" here. It's up to you to select and configure the ones that apply to your website and implement them.
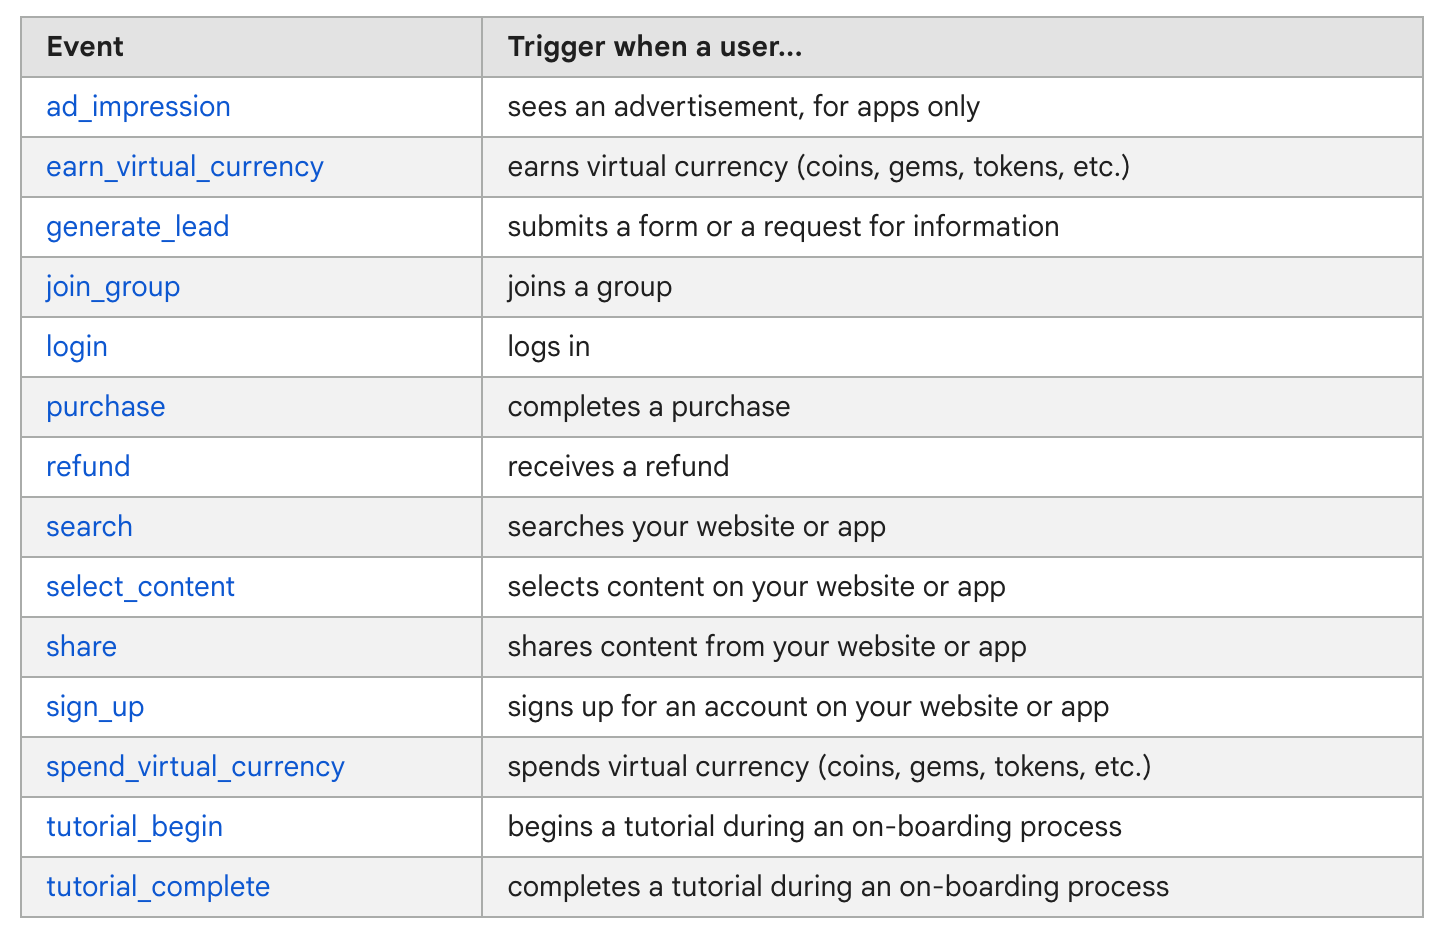
You can click on the listed events to see if Google suggests related parameters. For example, the "share" event above has the following event parameters: Implementing the suggested event with these parameters can help us understand what type of content is shared, what the content is, and what the share method is. The same methodology should be applied to all Custom Events so that GA reports can gain more context and you can find actionable insights.
See you in the next post!